
By the way, this gun is a later production unit with a 32961 stamp and I must unfortunately say the QC hasn't improved. Tons of sketchy soldering, paint overspray, scratches and blemishes, and even some rather janky looking flywheels with quite a bit of runout. No wonder people are having pushers dead out of the box and unexplained electrical gremlins after a gun was dropped. Fix your shit, Hasbro.


Barrel shroud shimmed out with PVC


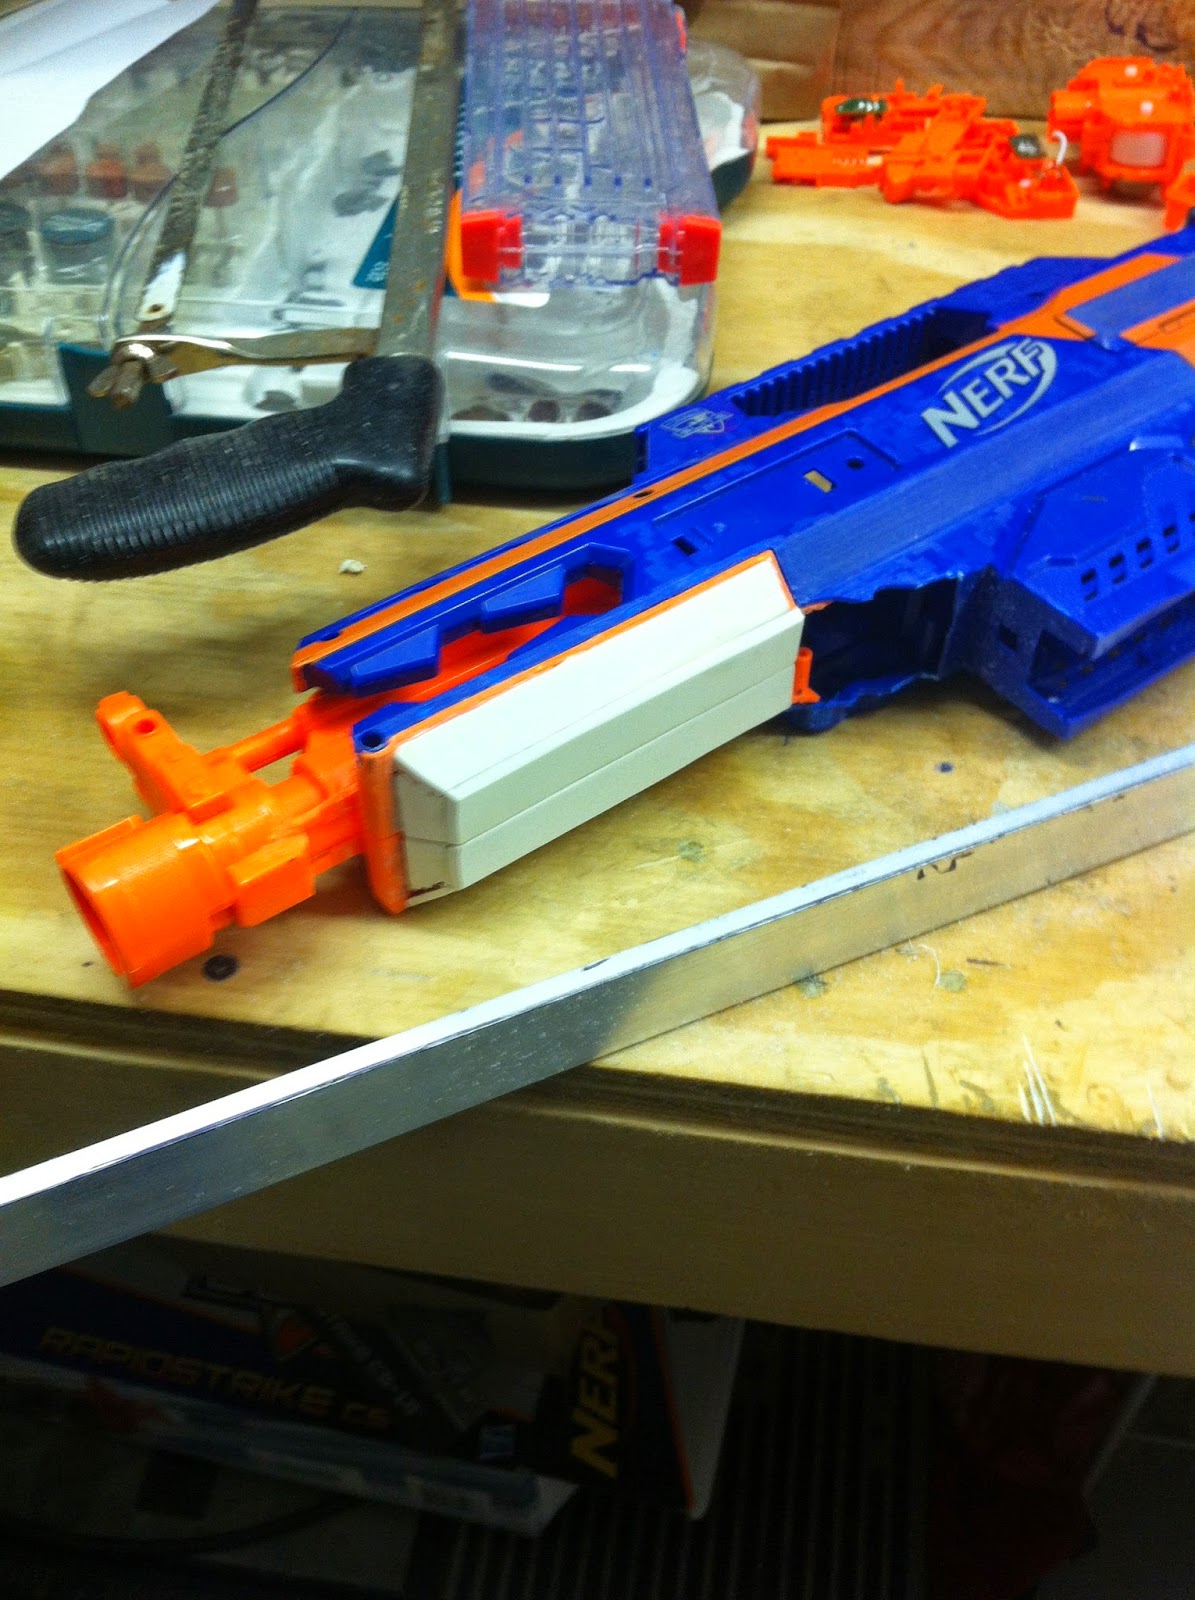

There was a slight change of design on the barrel shroud bodywork, namely, the chamfered front end. I am not entirely happy with that but I don't think I will ever be.


And here is the first stage of the grinding completed. Much PVC dust flew that day. Also note I fenced the magwell and filled in what were now gaps left by those stupid chamfers on the sides of the stock magwell...
(On that note, Hasbro designers, what in the blue blazes were you thinking having a magwell with this abnormally thin edge and placing these two superfluous chamfered areas right in the path of the feed lips of the mag you are inserting? The sharp edge of the magwell created by the chamfer tends to catch the mag if you don't get it exactly in the right place and make you fumble your mag change.)

And the final profile, prior to sanding. You can also see some of that cage area bodywork.


I was rushing the hell out of this build. I dunno why, but at the moment I am not on the ball with regards to fabrication. I have done cleaner work before. I would rather be soldering and running wire I suppose.


And since this is destined to run 180 motors of some description, an endbell cover is called for. I traced the stock flywheel cage bulge on the receiver and cut it out of PVC sheet.

I then got to work on a PVC flash hider for the muzzle of this thing. After the Oblivion build I had started finding Nerf's muzzle devices rather bland and superior ones easy and quick to make. It's an aesthetic feature, and this is not a prop, but I think you will understand what I mean when you see the end result.


Got the FH sanded, sprayed with primer, and Devconned to the cut down insert out of the FSB that used to have the twist-lock on the front.


Now this was strange. The factory orange paint on the receiver caused my Rustoleum rattle can automotive primer to alligator like all hell. First time I have had this problem... but not the first time in the NIC that factory paint has been incompatible with what someone sprayed. Note that the flat surface of the faux dust cover was sanded to remove the molded lettering, which also stripped this paint.
This also wasn't just a surface prep/contamination issue. Sanded or unsanded, washed or not, wherever this paint was, everything I sprayed alligatored.
I had to scrape and sand all this crap off and respray the parts. Grr. Just a heads up, you may want to spray a test swatch of this stuff with your primer and determine if you need to strip it or not BEFORE you go to the trouble of spraying primer "for real" on the whole part and risking a respray when this happens.

Finally, this was the primer. Grip and cheek rest have stock paint and are masked off.


This paint is a bit thick, and I have heard some complaints to that effect, but I like the high build of my auto primer and Rustoleum enamels, it forgives some sins with bodywork that should have had Bondo and more endless sanding. I did have a few drips and uneven coverage on this but that's not the paint's fault, just me rushing the fsck out of this build again.

Mostly finished PJ.


Now to drop some motors into this thing and wire it up. Cash is too tight to put a set of Xtremes in here now when I already have a full set of three Mabuchi FK's that I got for half the price. They WILL get their test and review, and probably will be in this gun, but slightly later.
I am also planning to use the existing 2S stick pack I have for now, until I can get some cells and build me a 3S. Oh well, it won't be as crazy, but it will be 98% as practically effective.
One thing I did forget to do, somehow, was the endbell cover for the pusher motor! That will be white PVC and added carefully without disturbing the paintjob.
I concur with that quality control shenanigans that Hasbro's been giving us. I have 3 33261 series rapidstrikes purchased from the recent target sale.
ReplyDeleteAll of them have grey paint overspray. They just feel so gross and grainy, especially since those are handling areas. I do have a secondhand 31281 that feels real nice and smooth to the touch, but I wonder if that's just a matter of break in and (Bleh, sweat oils?)
Aside from the overspray, there's multiple paint splorches and even what looks to be a solder burn mark or large plastic flaw on the cheek rest. We were all questioning it's 'new' condition when I pulled it out at a modding party.
Bit. A noob question, but what did you use a cut the body of the Rapidstrike? A hacksaw? A dremel?
ReplyDeleteHacksaw, cutoff wheel, dikes and brute force, as appropriate, to rough in. Sanding drum (or cylindrical stone) with dremel to finish.
Delete