So here's the situation:


"Stepped" layers of PVC built up in the end of the stock structure. There is a reason for that which will be apparent later.


Just a note, there are 2 or more major versions of screen used ORs. The live fire rifles actually have a different stock release switch from the above, which is much shorter in vertical height and placed near the lower edge of the panel. My stock release is seen on what I THINK are the inert props. The rifle Jack loads in the tower has such a switch. The live fire OR also has something weird going on with the top shroud layer in the area of the Masada ejection port for obvious reasons.
I tend to side with the NON-live fire units on details like this, because as with other modern day SF weapons design situations, the original design is usually the first definitive word, with the firing of blanks being a secondary and compromise-inducing pursuit that involves cramming a suitable firearm into a prop shell. The CARB rifles from Avatar come to mind, in which the live fire units had Mini30 receivers rammed inside and noticeably different (and nonsensical given the in-universe design) ejection ports, and redundant charging handles as a result.

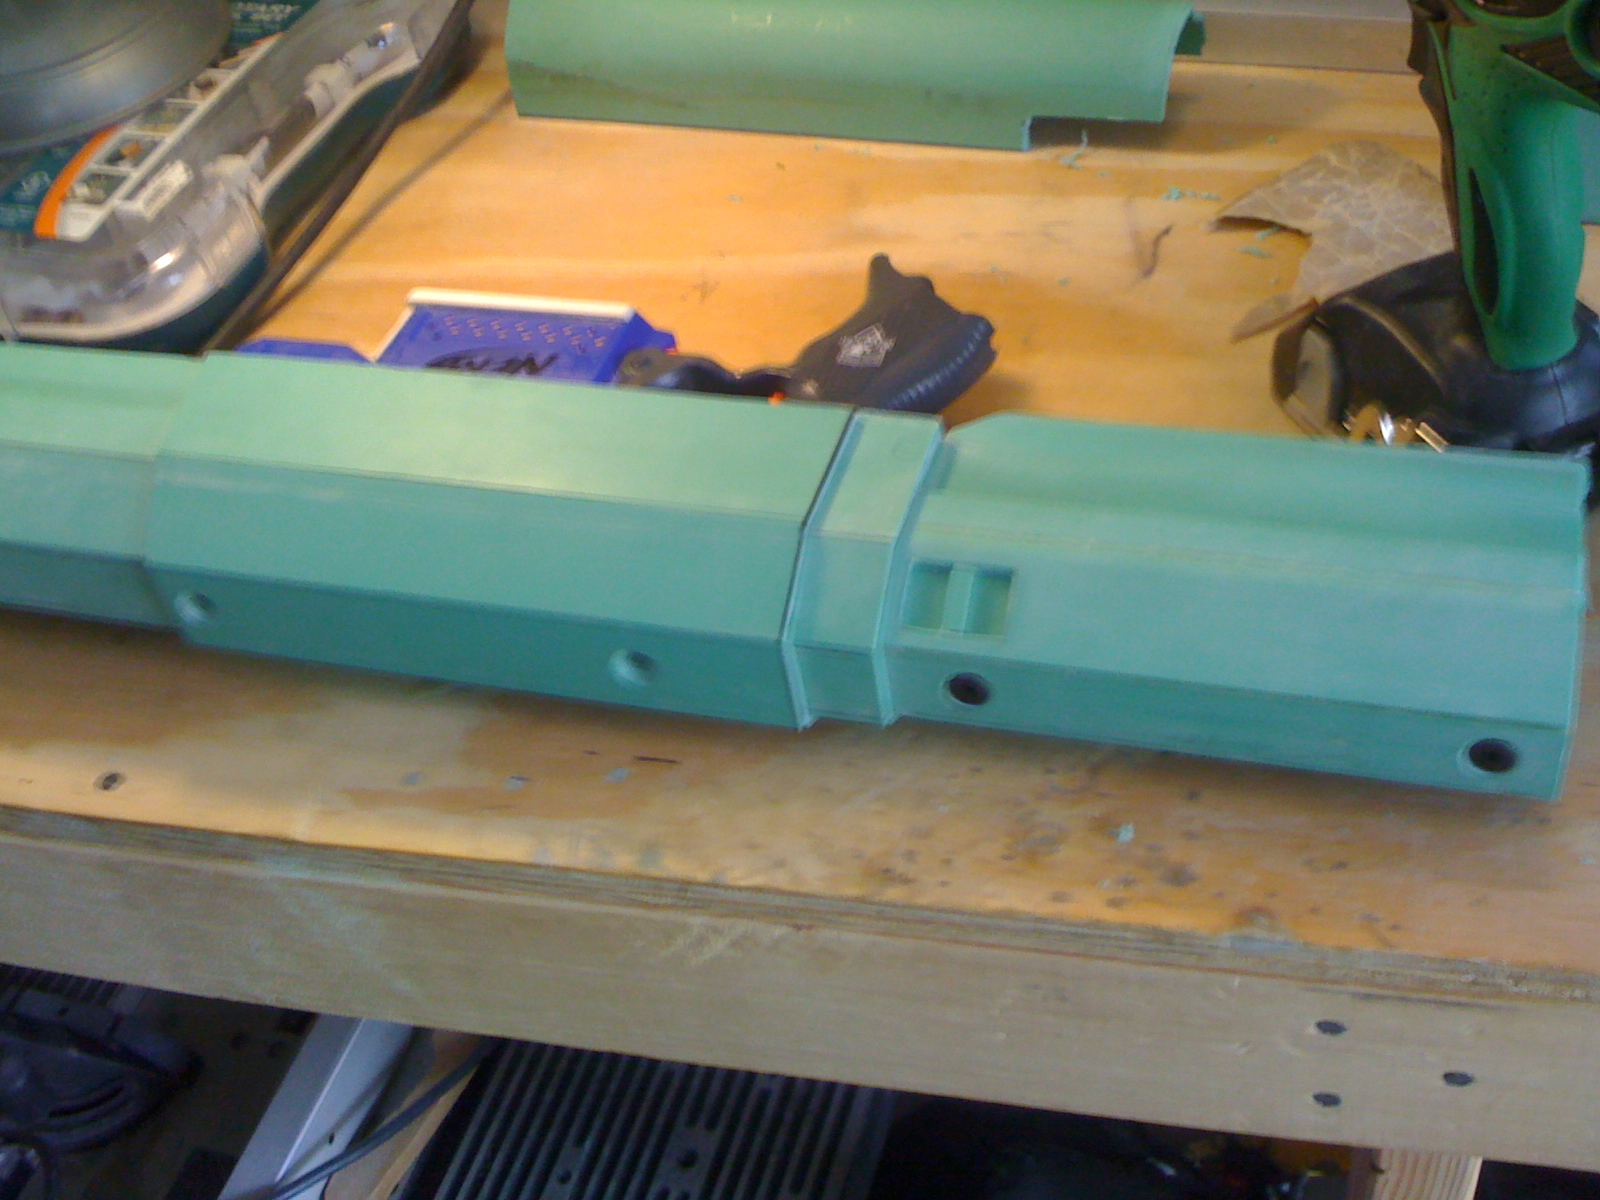


That was another compromise. Unlike the original, my lower shroud has to be removable, resulting in some fasteners and seams.


No comments:
Post a Comment