This build is getting closer, though.

Stryfe receiver trimmed up front as necessary.


Everything above the "waistline" of the Stryfe where the magwell tapers up to the wider part of the receiver is going to be covered up by the shrouds, including the barrel. The lower left side shim pack is solid, and the bottom surface (which will be visible and form the lower surface where the shrouds end) is finished.


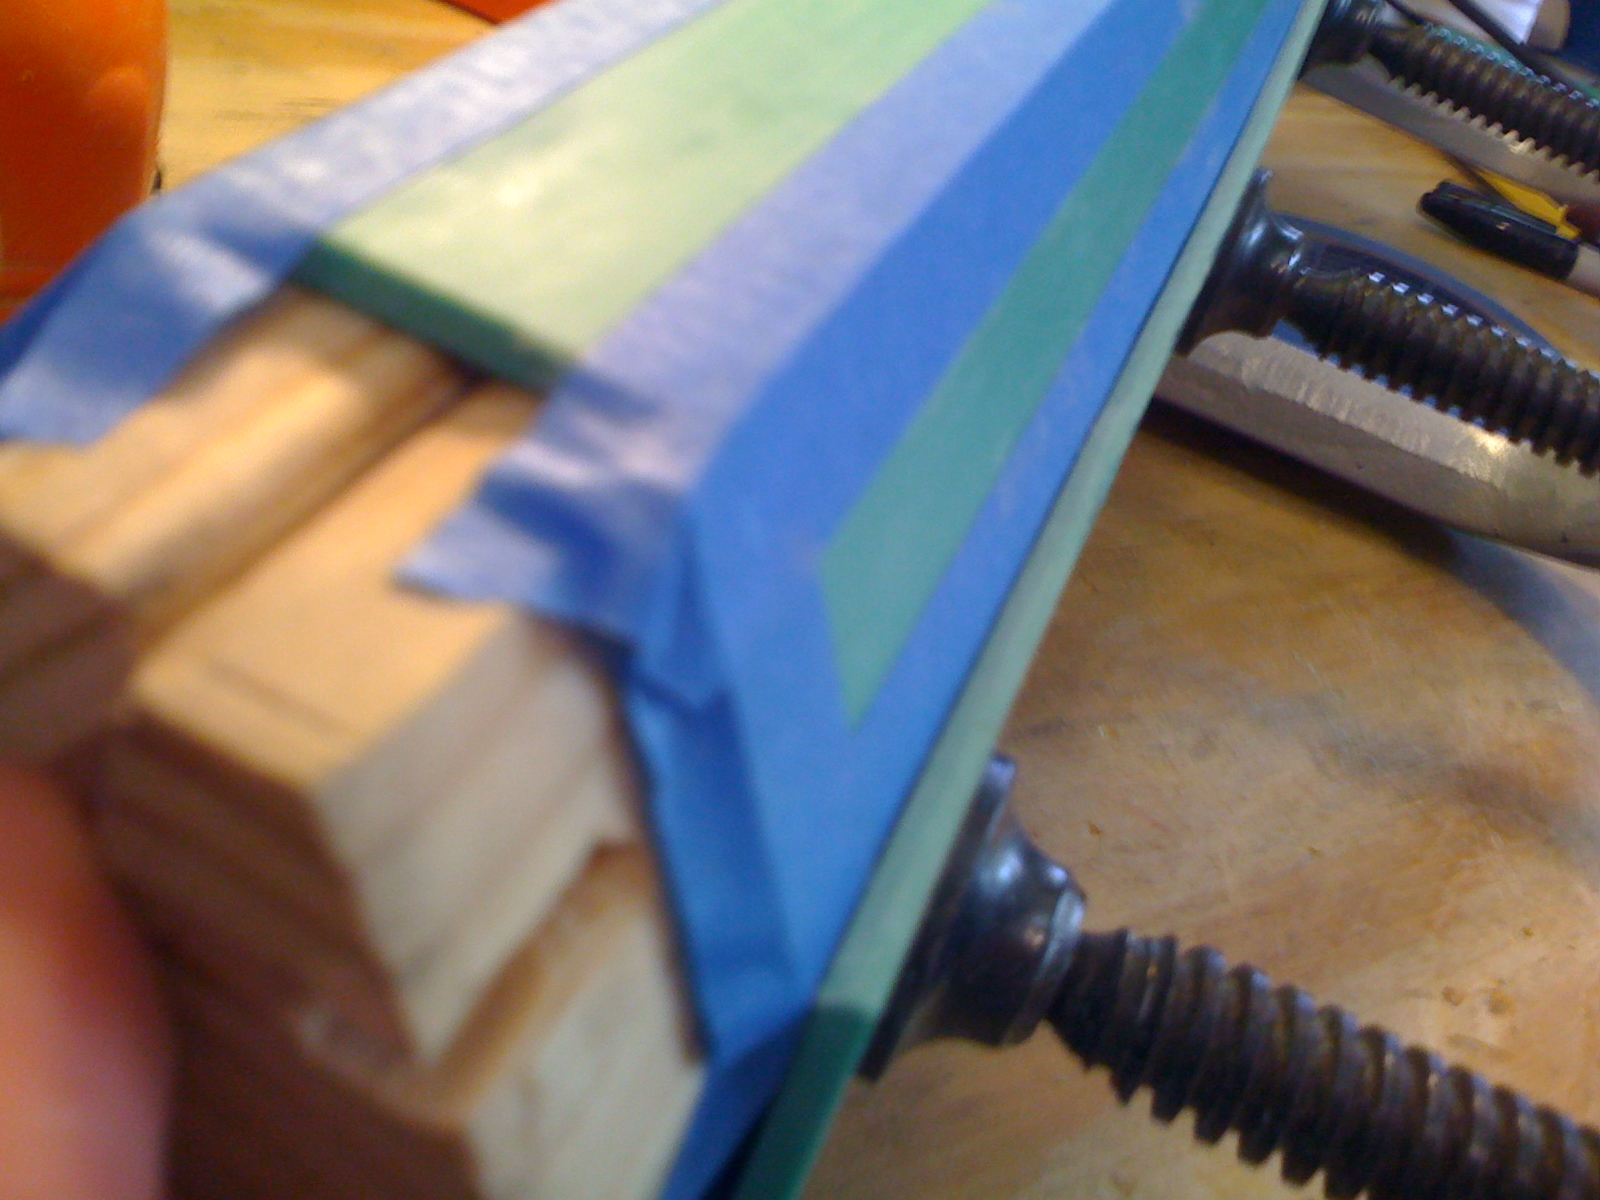
I was initially going to thermoform the uppers but after realizing what a b*tch and a half it was to wrangle such a large hunk of thick PVC and get clean bends without a better designed fixture to clamp it, I elected to build the (highly angular) uppers panel by panel, with a whole lot of Devcon.


Results.


If you look closely at the original Oblivion rifle, you will see that the shrouds appear to be 3 telescoping channel forms like this - so I am building each one over the last on the same form so that they all telescope perfectly. The 3 sizes of shroud pieces will be cut and then Devconned together to create the complete shroud.


Now, the original used a badass (and extremely expensive) Oveready custom build, from what I can tell an ultra-short single 18350 cell setup so the tailcap of the light wasn't visible inside the shrouds through the vent holes.
What do I have? This Coast light that I had sitting around. Cost: Zero bucks, and will still be a hell of a weapon light for this rifle. It's a triple, so it has the right face for the job.

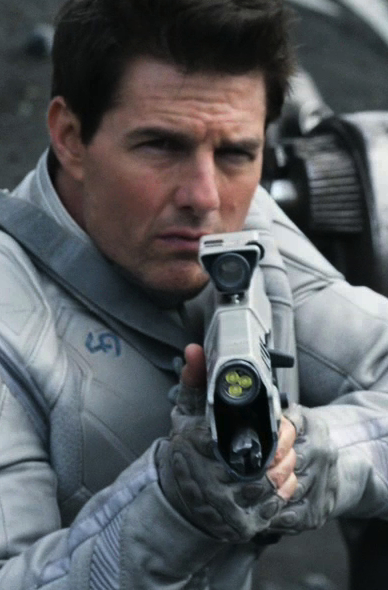 | ||||
| Source: RPF |
Unfortunately I am almost certainly going to paint this HvZ safe... for now. Why? Well, wouldn't it be better if I could fight with it rather than hanging it on the wall? Lower and lower shrouds will be my usual Rustoleum primer "faux parkerized" finish but the uppers will be red or blue (haven't made my mind up yet) instead of drab as they should be. Orange trigger, mag release, flywheel switch button and flash hider as usual for non-firearm-ness. I can always spray it again if (when) I want it more accurate and I don't plan on HVZing it. I'm a nerfer after all, not a prop hobbyist...
Also... I suspect that this may end up as more of a 5/4 scale replica. I let the Stryfe dimensions dictate everything (which means my shrouds are a lot fatter) and am more or less going for matching the Stryfe lower receiver proportionally to the Magpul lower receiver. Oh well, this will be a big gun. Not a problem.
To do:
Fabricate the lower stock frame into the Stryfe receiver.
Measure and head-scratch about shroud standoff distance.
Cut shroud sections and weld together.
Devcon the barrel to the support after getting it into perfect alignment.
Make flash hider.
Make buttplate.
Add shroud mounting bosses to Stryfe receiver.
Obtain correct screws (I am going to use hex socket flatheads in black finish) to mount shrouds.
Cut vent holes in shroud, add fake charging handle to shroud.
Mount flashlight.
Reinforce the hell out of the shrouds (inside) for Built HvZ Tough certification.
Sand, possibly bondo and putty things.
Paint.
Determine an electrical course of action. I have several sets of Barricade motors and a good set of Rayven flywheels which would make this more than capable. I also have some 9 cell battery packs I could use. However, I may go Tamiya on this if my UF friend tells me his TPDs didn't explode or anything. Reliability is key.
Obtain a sling.
Make a 4 or 5 round short magazine for display and paint it black.
Nice!
ReplyDelete